New Construction Wiring in New Builds: Key Considerations

Why Proper Electrical Practices Matter - New Construction Wiring
Installing new electrical wiring in a new construction wiring project or home renovation can seem daunting, but with careful planning and adherence to electrical codes, it can be a manageable process. Proper electrical wiring is crucial for safety, functionality, and the long-term value of the home. This article provides a step-by-step overview of the key steps and considerations when wiring a new house or addition from the ground up.
The first step is to develop a detailed electrical plan with input from your builder, electrician, and any vendors providing lighting, appliances, audio/visual systems, etc. Key details to cover in your electrical plan include:
Number of circuits needed for lighting, outlets, and designated appliances. Calculate based on amperage and wattage.
Wire gauge size (e.g. #10, #12) based on expected electrical load and distance from main panel.
Contact Us Today About Your Project
Contact NowLocation of main electrical panel, subpanels, and all outlets and fixtures. Mark locations on floor plans. (Need your panel looked at? Check out more)
Any special high voltage wiring needs like 220V for dryer, stove, or hot tub.
Dedicated circuits for heavy appliances like refrigerator and AC condenser.
Whole house surge protector, generator panel, and wiring for future solar system.
Locations for TV, internet, security and other low voltage system connections.
Dimmer switches, smart switches, and hardwired smoke/CO detectors.
Text Us Now For A Quote
Get Your QuoteOutdoor outlets, exterior lighting, underground wiring to outbuildings, pools, etc.
Get quotes from 3+ licensed local electricians early in the build process. Look at examples of their past residential wiring work and check reviews. Lock in your electrician soon after selecting your general contractor.
Expect to pay around $X to $X per square foot for quality new residential electrical wiring. The exact costs will depend on:
Your home size and number of floors
Local electrician labor rates
Extent of renovation vs. complete new construction wiring
Specialty wiring needs like home audio/automation systems
Saving too much by cutting corners on electrical risks shoddy work that could burn your house down or require expensive re-wiring later when you want to upgrade outdated electrical. Paying a fair rate for quality work ensures electrical infrastructure that will last for decades.
Running Electrical Cable During Rough-In
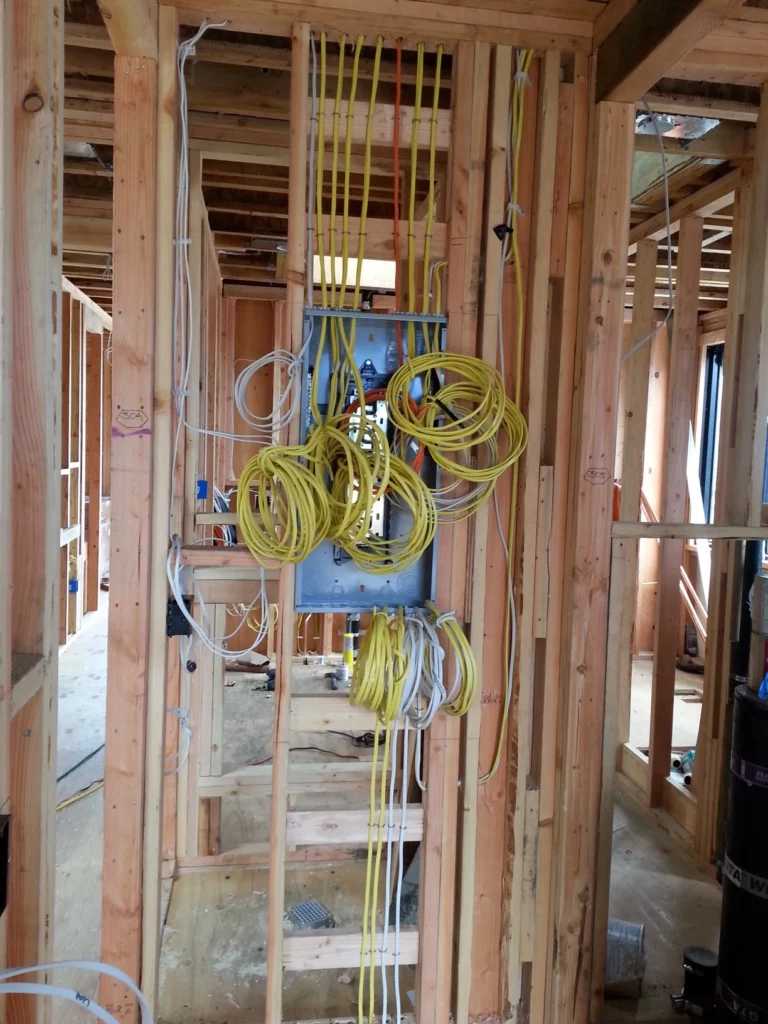
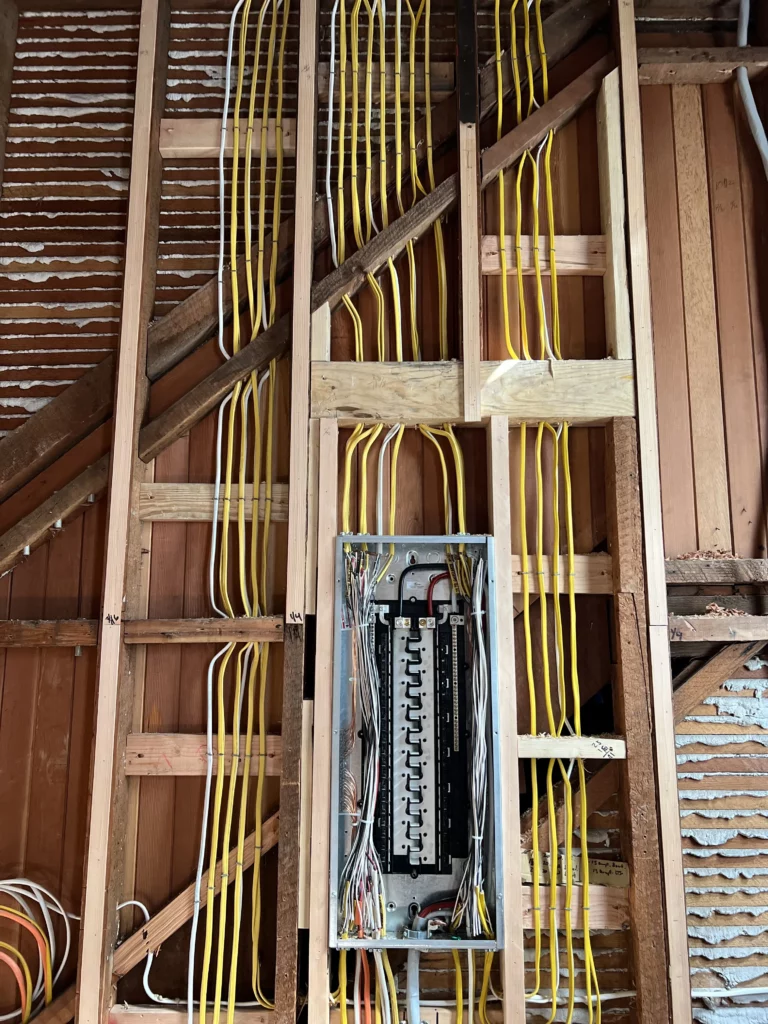
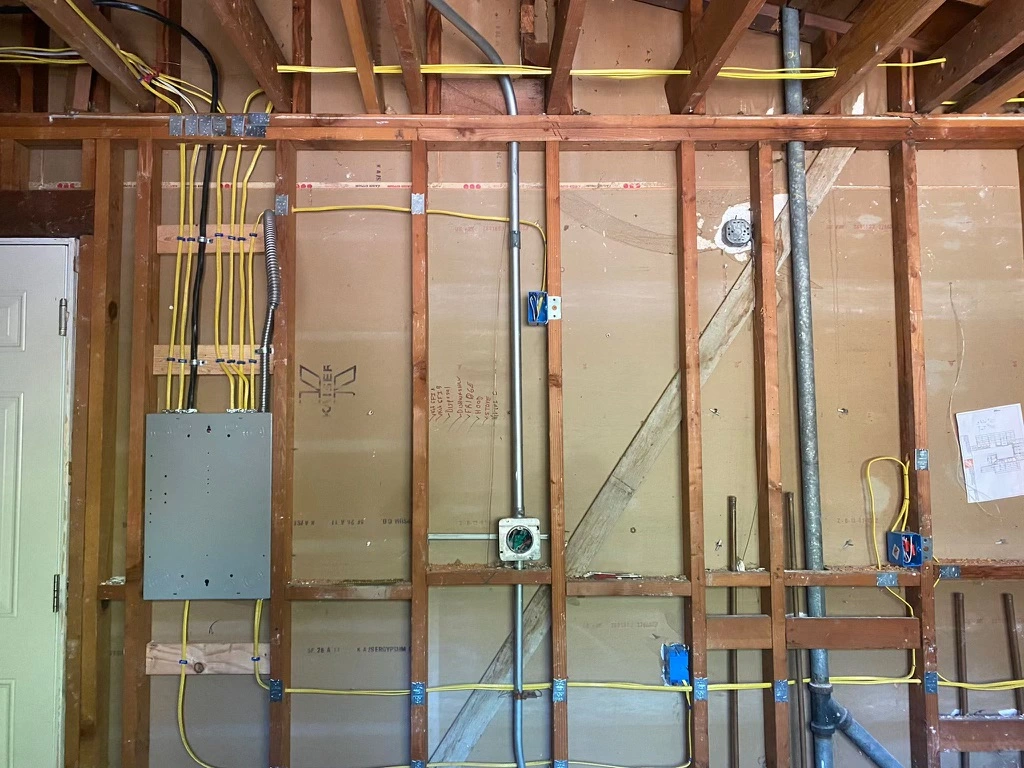
The “rough-in” phase is when the electrician runs power cables through walls, ceilings, and conduits before insulation and drywall go in. Good planning is essential so wires are placed optimally for fixtures, outlets, switches, and appliances based on the electrical plan.
Key steps when roughing in electrical wiring:
Contact Us Today About Your Project
Contact NowDrill guide holes through floor and ceiling joists and wall studs for routing cables. Avoid improper notching or drilling which weakens structural integrity.
Use metal conduit where required by code for protection. Conduit enables pulling more wires through later if needed.
Secure and support cables at regular intervals with staples or wire ties. Do not let live wires touch insulation or dangle loosely.
Pull Romex or other copper sheathed cable through holes from box to box, leaving 6-8 inches of slack wire in each junction box for connections.
Keep wiring runs as short and direct as possible for safety and efficiency. Make dips and bends gradual.
Label wire ends clearly by circuit for easier troubleshooting. Use wire markers and an accurate box diagram.
Leave wall/floor access panels if wiring must run through difficult areas like plumbing walls. Coordinate with other trades.
Inspect wiring before covering with insulation. Make sure no cables are damaged and all are securely supported.
Not planning wire routing carefully during rough-in leads to cables being installed dangerously near plumbing, jammed into corners of joists, or left unsupported. Taking the time to drill straight holes, insert protective grommets, and staple tidy runs makes wire connections and fixture installation easier later. Leave large enough junction boxes at each endpoint.
Installation Costs: Contributing Factors
In addition to the home’s square footage, several key factors impact the total cost of new residential electrical wiring:
Text Us Now For A Quote
Get Your QuoteLevel of renovation vs. new construction wiring – Total rewiring is generally more labor intensive than wiring a new build from scratch. But total cost also depends on existing infrastructure.
Number of switches, outlets and fixtures – More endpoints means more wire runs and more installation time. Lighting, fans, switches and outlets add up fast.
Required amperage and voltage – Higher capacity 200A panels with heavy gauge wire and multiple 220V appliance circuits cost more in materials.
Electrician hourly rate – Varies based on contractor demand and local labor costs. Get multiple quotes.
Copper and other materials cost – Fluctuating commodity prices for copper wire, conduit, boxes, panels, etc affects budgets.
Specialty electrical work – Whole house generators, wiring for solar panels, home audio systems, computer networks and smart home tech add cost.
Permit fees – Varies by city, but required electrical permits and inspections add 10-15% typically.
To get an accurate estimate, your electrician will consider all these factors. Be ready with your electrical plan details before requesting quotes. Keep in mind that quality wiring materials and workmanship do cost more than the cheapest option, but also provide unmatched safety, reliability and peace of mind.

Making Key Electrical Connections
The fun part comes when it’s time to connect all the installed switches, outlets, light fixtures, and appliances throughout the home. Attention to detail is critical, as improper wire connections can lead to electrical fires or equipment damage. Key steps include:
Matching hot (black), neutral (white) and ground (green/bare) wires correctly. Use wire nuts or terminal blocks to join.
Securely capping unused wires with wire nuts to avoid accidental contact. Tuck back into box.
Grounding each outlet box properly with the green wire and copper grounding screws.
Using GFCI outlets within 6 feet of a water source and where required.
Clamping cables tightly with cable clamps to prevent strain on connections.
Double checking no copper wire is exposed before closing boxes and turning on power.
Using a multimeter to test for correct voltage and polarity at outlets before connecting appliances and devices.
Properly torquing terminal screws on breakers and lugs in the electrical panel.
Ensuring all junction boxes are properly covered and secured. Label circuits clearly.
caulking exterior boxes and conduit openings to prevent moisture and insect access.
Avoid electric shocks, shorts, and fires by taking the time to make solid, well-insulated connections the first time. Use quality copper wires and connectors rated for the application. Call for rough-in and final electrical inspection to get licensed approval before occupying the home.
Mistakes to Avoid When Wiring a New Home
Some common pitfalls that create fire hazards or general headaches for new construction wiring include:
Undersizing – Skimping on panel capacity, wire gauge, or number of circuits saves little upfront but really hurts functionality and safety later.
Unsecured cables – Wire hanging loosely, laying on attic insulation or draped near heating ducts risks melting, shorts and fires.
Improper routing – Drilling wiring holes improperly through joists and studs weakens the structure while also making wire pulling hard.
Exposed splices – Wire connections outside of junction boxes can overheat or short. Use approved enclosures only.
Unprotected cable ends – Accidental contact with live conductors during construction wiring can injure workers or damage equipment.
Shoddy connections – Loose wire nuts, poor terminal contact, uncontrolled wire strip length lead to shorts, fires and power issues.
Wrong wire caps – Using wire nuts not rated for the number or gauge of wires combined is very dangerous.
Unlabeled circuits – Failure to label breakers and junctions boxes makes troubleshooting tricky for homeowners and future electricians.
Damaged cables – Letting wires get stapled, slammed in doors or walked on during construction almost guarantees a short or open circuit.
Insufficient access – Not leaving conduit bodies accessible or failing to install junction box access panels makes adding circuits and modifications extremely difficult later.
Rushing the rough-in wiring or making sloppy terminations might save a few dollars upfront but often costs hundreds of times more in repairs and renovations later. Take the time to do it right, as re-doing major wiring mistakes gets very costly.
Key Takeaways for New Construction Wiring Projects
Wiring a house or building addition from the ground up takes planning, attention to detail, and adherence to electrical codes. But it is very satisfying seeing well-installed wiring support your lighting, outlets, appliances and electronics reliably and safely for decades. Keep these tips in mind for your next new construction wiring project:
Start your electrical design early with initial building plans
Interview several local licensed electricians before selecting one
Insist on qualitywiring materials and full compliance with the NEC
Do an initial electrical walkthrough before drywall to confirm placements
Inspect every connection and test all circuits before closing up walls
Label all circuits clearly and create an accurate wiring diagram
Call for mandatory rough-in and final electrical inspections
Keep all electrical plans, invoices, and inspection certificates for future work
Follow these best practices during your build, and you can feel confident in the electrical infrastructure powering your new space for years to come. Proper planning and installation of new electrical wiring may cost more up front but saves exponentially in the long run through safety, functionality and higher property value for decades into the future.

FAQs
What is an electrical outlet?
An electrical outlet is a device that allows you to connect and use electrical devices by providing a point of connection with the electrical supply.
What is a light switch?
A light switch is a device that controls the flow of electricity to a lighting fixture. It allows you to turn the lights on or off.
What is rough-in electrical wiring?
Rough-in electrical wiring refers to the process of installing the initial electrical wiring in a building before the walls and ceilings are finished.
How much does it cost to wire a new house (new construction wiring)?
The average cost to wire a new house depends on various factors such as the size of the house, the complexity of the electrical system, and the location. It can range from $2,500 to $10,000 or more.
What is the cost of new construction wiring installation?
The electrical wiring installation cost depends on the scope of the project. It is typically calculated based on the number of circuits, length of wires, and the complexity of the electrical system.
How do you run the electrical cable?
To run the cable, you need to identify the path where the cable will be installed, drill holes in the studs or use cable staples to secure the cable, and then feed it through the holes or staple it along the designated route.
What is a ground wire?
A ground wire is a safety feature in electrical systems that provides a path for electrical currents to safely dissipate into the ground, reducing the risk of electric shock or electrical fires.
What is involved in an electrical remodel?
An electrical remodel involves updating or modifying the electrical system in an existing building or room. This may include adding new wiring, replacing old fixtures, or upgrading the electrical panel.

